
How to fix cable mistakes when your knitting is still on the needle
It has happened to most of us who work cables at one time or another. For me, it happens when I knit right before bedtime. I should have stopped knitting 15 minutes ago, but I wanted to go a little further. The next morning, I pick up my project.....and I see it. A couple of repeats ago, I cabled to the back rather than cabling to the front! Ugh!!
It is a pain, because I have to stop my forward progress and fix the mistake, but it is much less time consuming to just unravel and re-knit the cable than to unravel and re-knit your whole project.
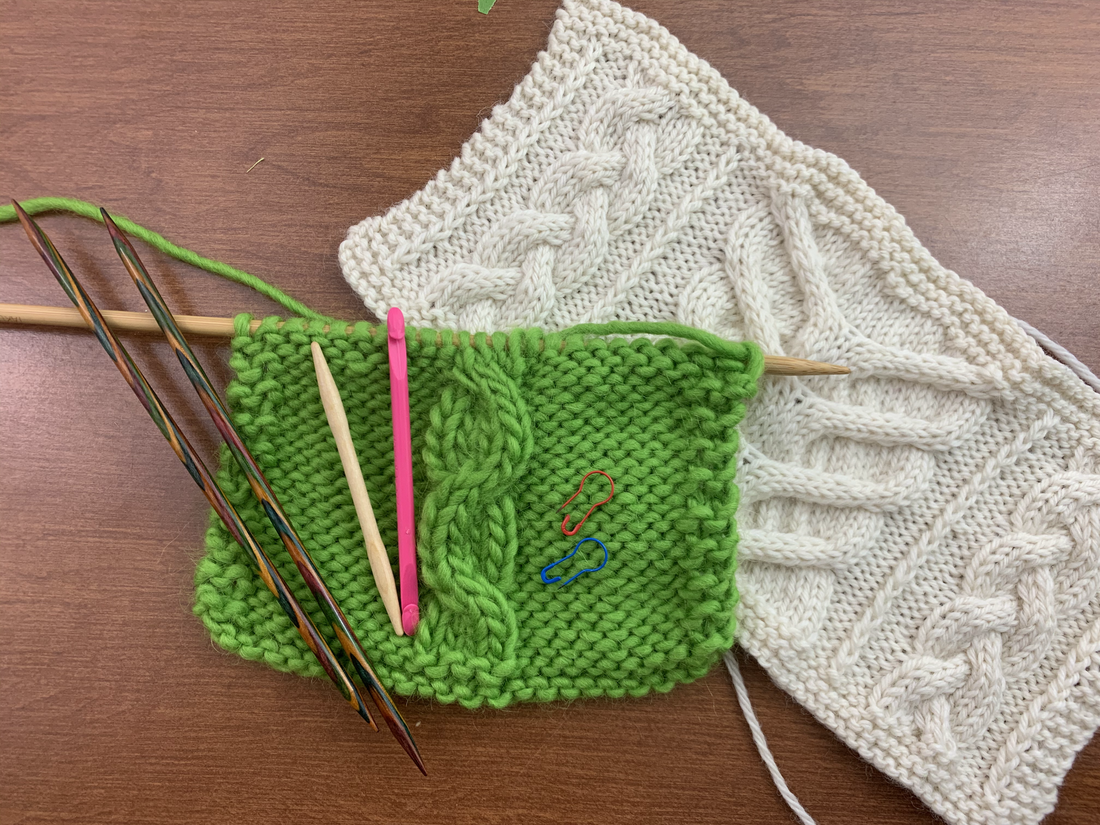
You will need:
- Cable needle
- A 2 double-pointed needles of the same size or slightly smaller than you are using on your project.
- A crochet hook or a Fix-A-Stitch tool.
- A plastic or metal coil-less safety pins for each cable that you have to unravel.

Steps to Fix your Mistake
- 1. Mark the cable rows by clipping a safety pin to the yarn going into each cable row. Marking the rows will make it much easier to know which rows need to be cabled and which rows can just be knit.
- 2. Slip the stitches over to the cable onto your other single point needle (or other end of your circular needle.)
- Unravel the 4 stitches of the cable down to the row below the mistake. Of course, the number of stitches you need to unravel depends on the width of your cable. This cable is only 4 stitches wide, so we unravel 4 stitches. If your cable was 8 stitches wide, then you would unravel 8 stitches.
- Begin working back up. Place the left 2 stitches on a double-pointed needle, and the right 2 stitches on the cable needle.
- In this particular cable, the cable is a C4F. Hold the cable needle in the front. Work the 2 stitches on the double-pointed needle, then work the 2 stitches on the cable needle. One row worked!!
- The next 5 rows do not have a safety pin clipped to them, so you will knit each row.
- When you get to the 2nd safety pin, slip the first 2 stitches to the cable needle and hold in front. Knit 2 stitches from the double-pointed needle, then knit 2 stitches from the cable needle.
- Work any remaining rows without cables on up to the current row.
- Place the reworked stitches back on the working needle.
Watch the fix in action, with a few additional tricks to make the fix look flawless!